
Today, I’ll be walking you through the deployment of S3M NAC on a VMware ESXi environment. For organizations utilizing virtual infrastructure, deploying S3M NAC on ESXi offers a powerful and flexible solution for managing network access and enforcing security policies. In this guide, I’ll cover the essential steps to get S3M NAC up and running in a virtualized environment, ensuring your network remains protected while leveraging the scalability and efficiency of ESXi. Whether you’re new to S3M NAC or looking to optimize your existing virtual network, this guide will help you integrate robust network access control seamlessly into your VMware setup.
System Requirements by Deployment Size
| Deployment Size               | vCPU                          | Memory                          | Storage                     |
| :-------------------------- | :---------------------------: | :---------------------------: | | :---------------------------: |
| 0 to 2500 devices             | 2 vCPU                        | 4GB                             | 200GB                       |
| 2500 to 5000 devices          | 2 vCPU                        | 6GB                             | 200GB                       |
| 5000 to 15,000 devices        | 4 vCPU                        | 8GB                             | 200GB                       |
| 15,000 to 25,000 devices      | 6 vCPU                        | 12GB                            | 300GB                       |
| 25,000 to 50,000 devices | 8 vCPU | 16GB | 400GB |- Storage Requirements
- SSD storage is preferred for better performance and reliability.
- Regular backups and maintenance should be performed to avoid data loss
- Network Configuration
- Ensure proper VLAN segmentation for different types of traffic (management, userdata, guest access).
For LAB purposes you can choose the smallest deployment size
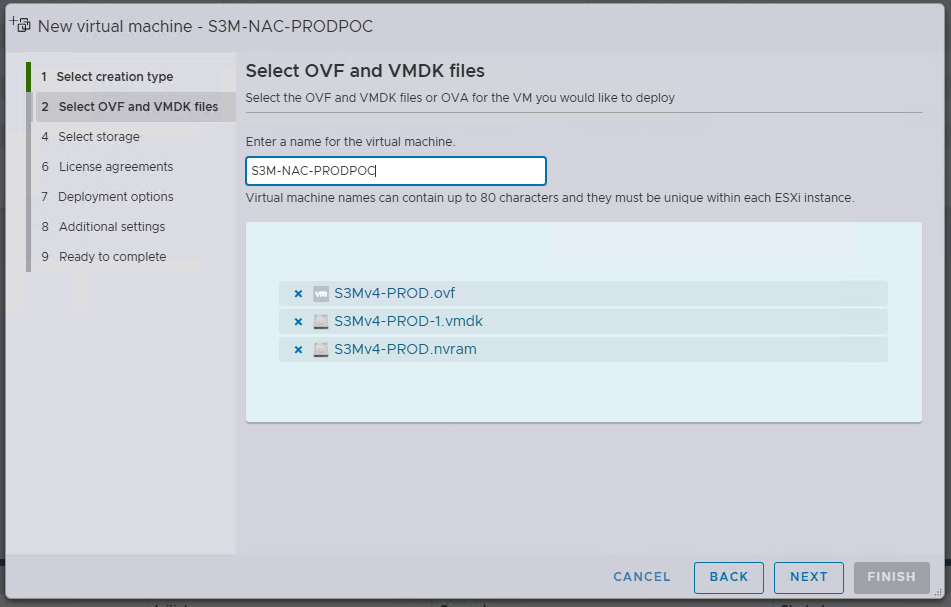
We will start by importing the ovf and naming the guest.
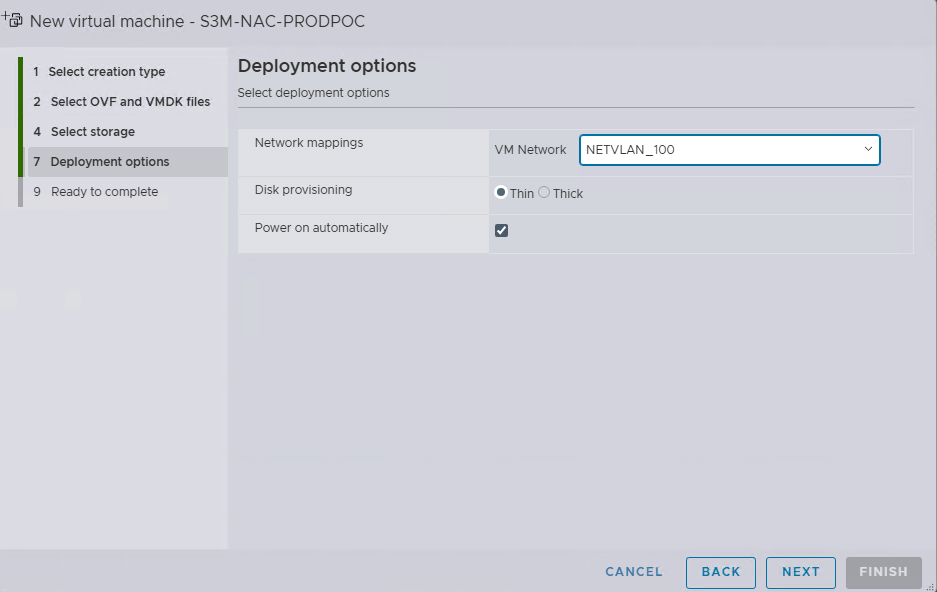
After we have named our guest VM and specifying the S3M virtual appliance ovf, you need to map it to a network (port group) normally this would get deployed on the network management VLAN which we are in the example but LAB purposes might be much smaller. The storage type can be thick or thin this usually has performance impact on IOPS as this is only a Proof of concept we will be going with Thin in this guide.
Once you are fulfilled the prerequisite the ovf will start getting imported after that has been successful the guest VM will start automatically and land on login prompt.
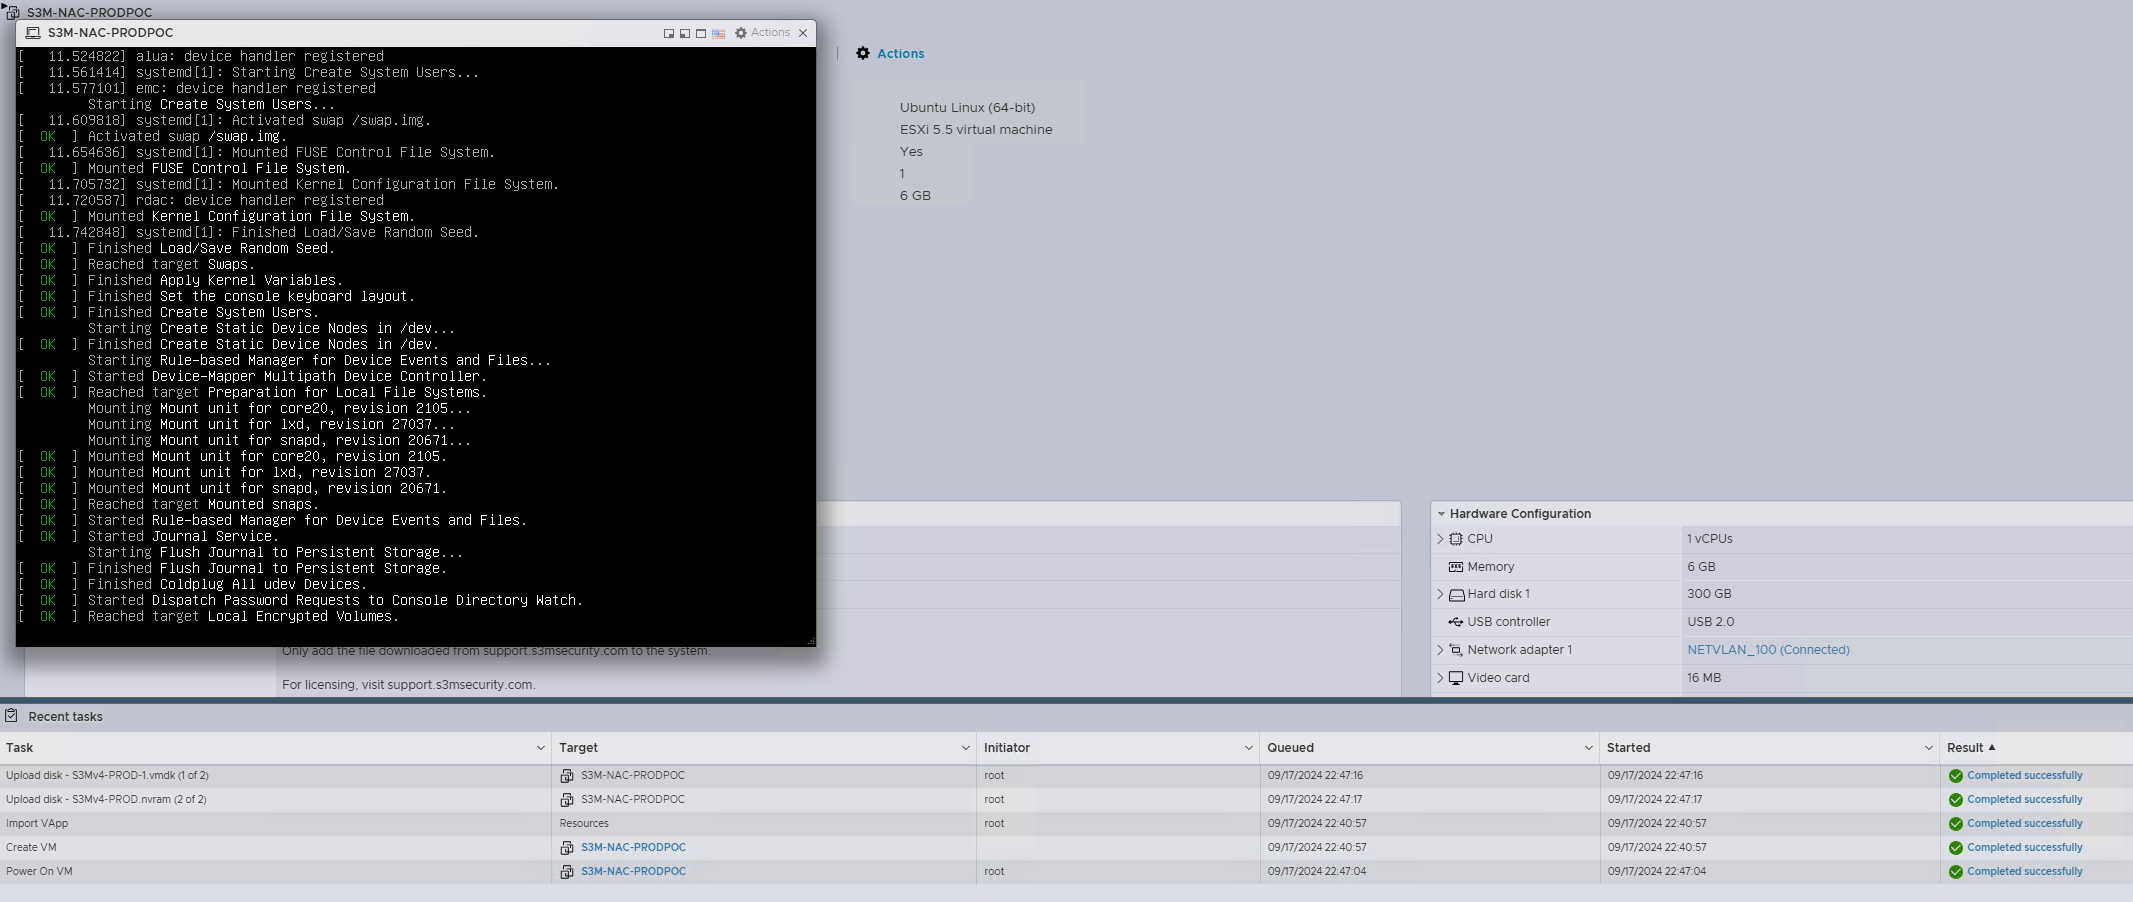
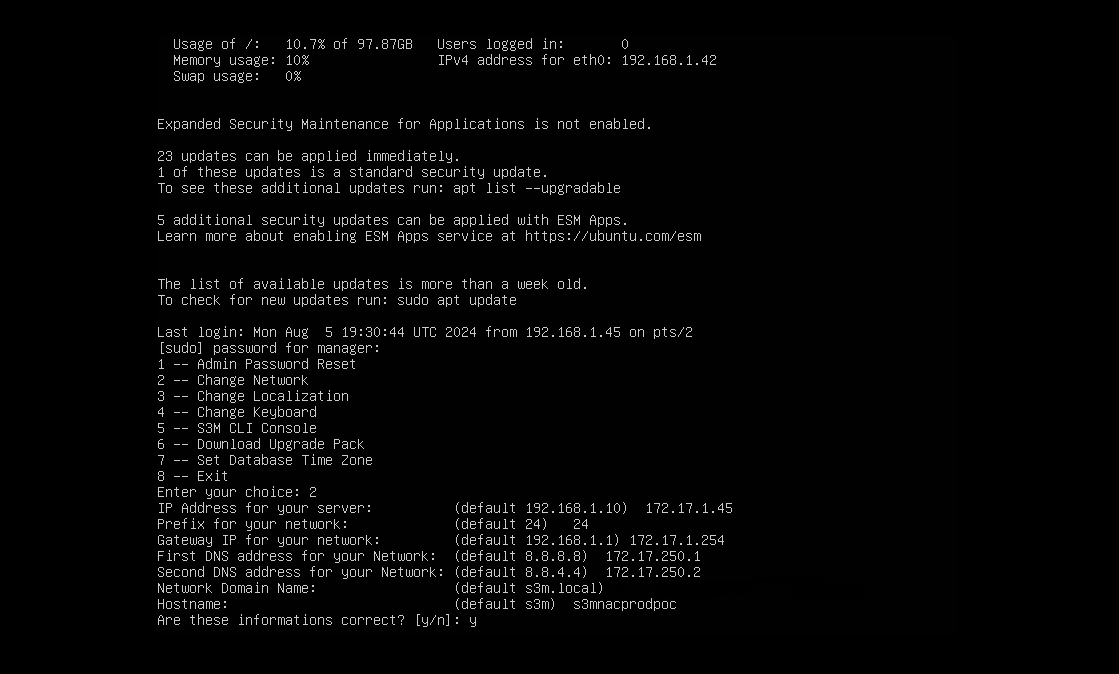
Default login is manager:manager this same applies to when elevate permissions
Logged in successfully, you will be presented with a menu where you can reset admin password, change network settings etc, change configuration to meet your needs. So for this demo we will change network configuration.
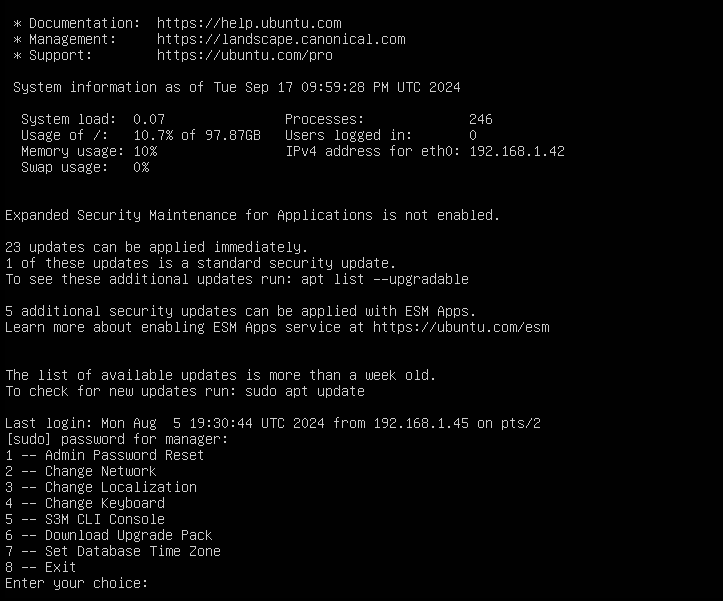
Here we have configured our S3M virtual appliance to meet our network needs, so we can access the administration web UI on the IP we have configured for this NAC, it is HTTP not HTTPS when you browse to the NAC.
We will later show how to upload certificate from a internally signed CA to secure the frontend of the NAC
Upon logging into the NAC with the default credentials or the ones you specified if you reset the admin password via cli you will be instantly prompted to import a license, you can obtain a free 50 user license from S3M for a year this can be either used for SMB or LAB purposes, after clicking upload you will be sent back out to the login screen instantly please login again.

You will be welcomed to S3M dashboard where you can view the stats of course its empty because it is a fresh deployment. We will carry on with this series to configure various other features demostrating its NAC features.
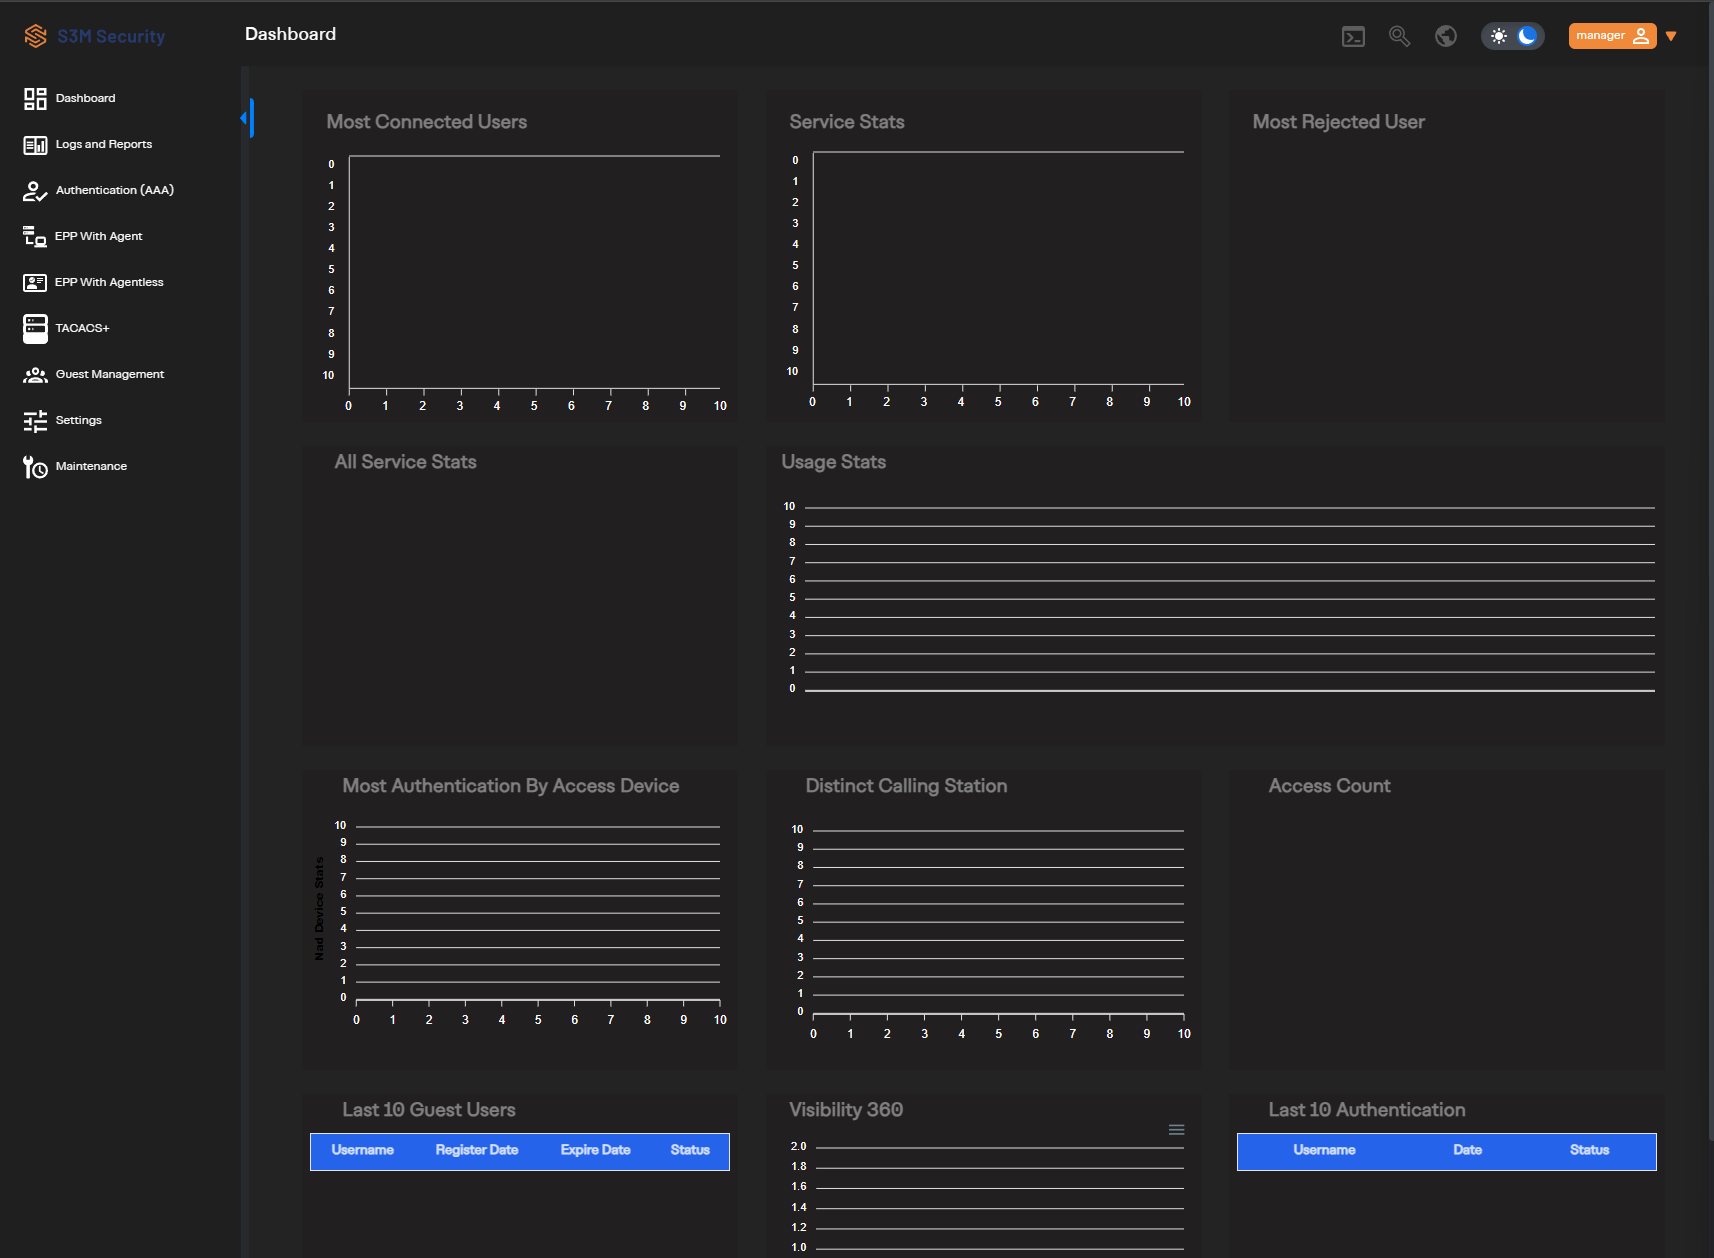
Congratulations you have successfully deployed S3M NAC virtual appliance on ESXI.
- Ensure proper VLAN segmentation for different types of traffic (management, userdata, guest access).