Microsoft Intune Cloud PKI BYOCA
Following the previous post, which covered setting up a root CA in the cloud, this guide now shifts to using a bring-your-own CA (BYOCA) approach. After establishing your root CA using BYOCA, the next step is to deploy the issuing CA. This issuing CA will manage certificate issuance for Intune-managed devices. During this setup, Cloud PKI will automatically configure the Simple Certificate Enrollment Protocol (SCEP) service, allowing certificates to be requested from the issuing CA on behalf of Intune-managed devices. The six steps below outline how to deploy the issuing CA using the BYOCA approach, continuing from the previous cloud root CA deployment and highlighting the simplicity of Cloud PKI.
Creating issuing CA in Endpoint Manager
- Access the Cloud PKI Settings
- Open the Microsoft Intune admin center portal.
- Navigate to Tenant admin > Cloud PKI.
- Initiate the Creation of a New Certification Authority
-
On the Tenant admin | Cloud PKI page, click Create.
- Enter Basic Information
-
On the Basics page, provide a valid name for the certification authority.
- Click Next to proceed.
- Configure the Issuing CA Settings
-
On the Configuration settings page, fill in the required details:
- CA Type: Select Issuing CA to create a new issuing CA.
- Root CA Source: Choose Bring your own root CA.
- Extended Key Usages: Specify the purpose of the issuing CA by selecting the necessary key usage types.
- Subject Attributes: Specify at least the Common Name (CN) to help identify the CA.
- Encryption: The key size and algorithm will be preconfigured based on the root CA’s configuration.
- Review and Finalize the Configuration
-
After completing the configuration, review the details and click Next.
- Create the Issuing CA
Confirm the settings and click Create to finalize the process. The issuing CA will now be created within Cloud PKI.
Signing the Cloud PKI Issuing CA
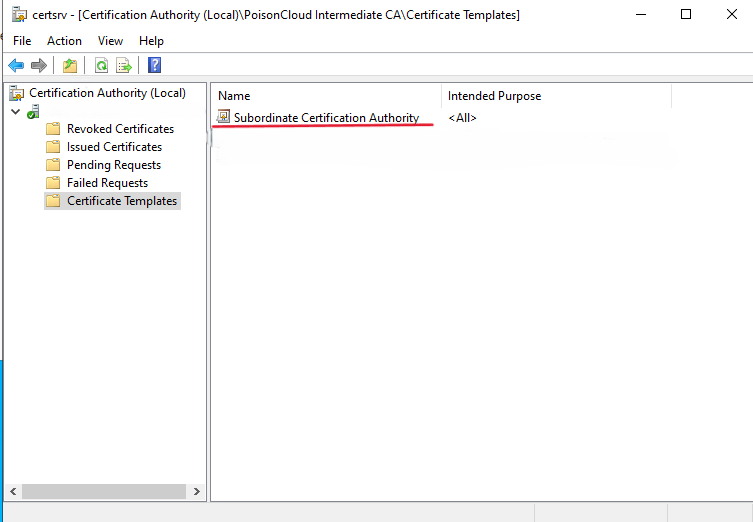
The subordinate CA template must be published and available on the CA that's signing the certificate. Open certsrv.msc – Certificate Authority management console on your device to view available certificate templates.

Download the signing request from Endpoint Manager, paste the CSR base64 into AD CS web enrolment portal and click submit.
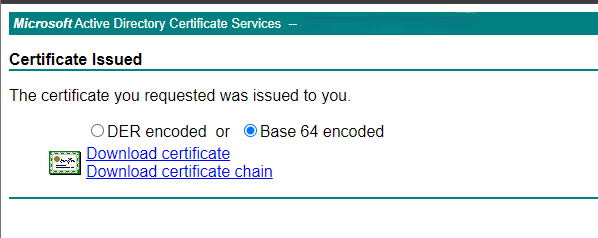
Download Base 64 encoded certificate from AD CS web enrolment portal.

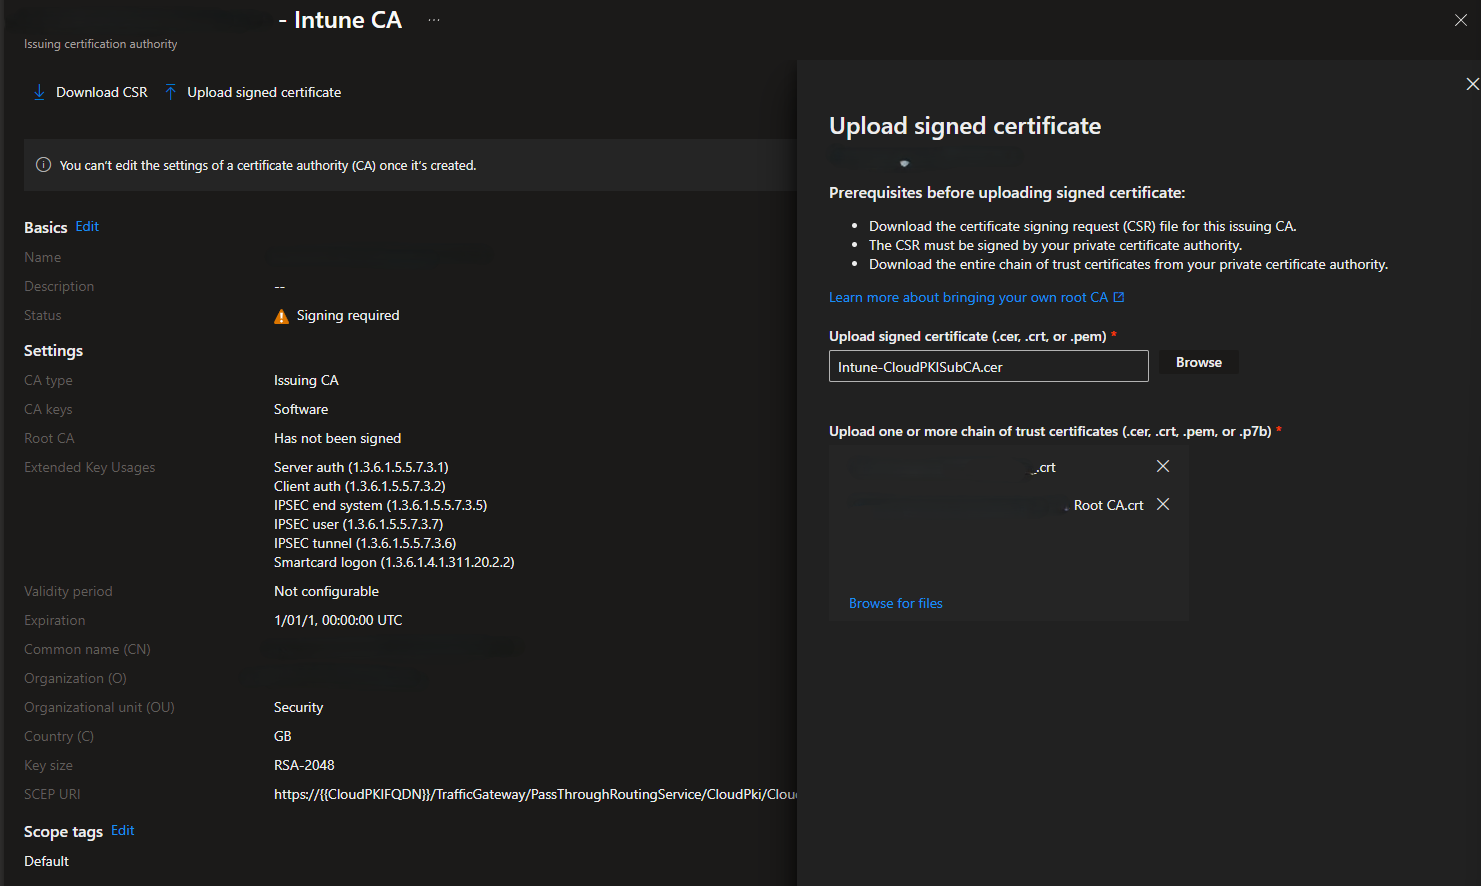
Upload signed certificate cer file into Endpoint Manager with the chain then click save

Microsoft will start validated the certificate, you will recieve another toast notification within the Endpoint Manager stating its now ready to use.

Deploying Certificates
After downloading the certificates, you can easily make them trusted by using a trusted certificate profile. This profile allows you to add the certificates to a specific store on the device. Follow these eight steps to distribute the certificates to the Trusted Root Certification Authorities store:
- Access Device Configuration Settings
- Open the Microsoft Intune admin center portal.
- Navigate to Devices > Configuration.
- Create a New Policy
- On the Devices | Configuration page, click Create > New policy.
- Set Up the Profile
- On the Create a profile page, fill in the following details:
- Platform: Select Windows 10 and later.
- Profile type: Choose Templates.
- Template name: Select Trusted certificate.
- Click Create to proceed.
-
Enter Basic Profile Information
- On the Basics page, provide a unique name for the profile to distinguish it from other trusted certificate profiles.
- Click Next.
-
Configure Certificate Settings
- On the Configuration settings page, input the following details:
- Certificate file: Upload the certificate file you just downloaded.
- Destination store: Choose Computer certificate store – Intermediate for the selected certificate file.
- Click Next.
-
Assign the Profile
- On the Assignments page, configure how the profile will be assigned to devices.
- Click Next.
- Set Applicability Rules
- On the Applicability rules page, define the rules that determine which devices the profile applies to.
- Click Next.
- Review and Create the Profile
- On the Review + create page, review all the settings.
- Once satisfied, click Create to finalize the profile.